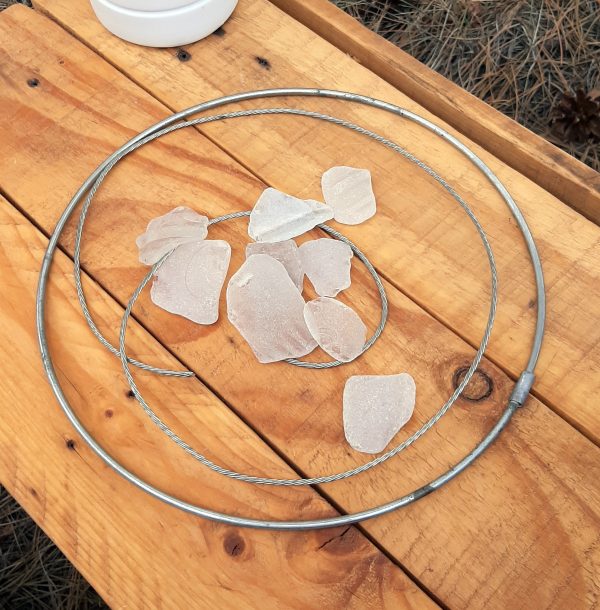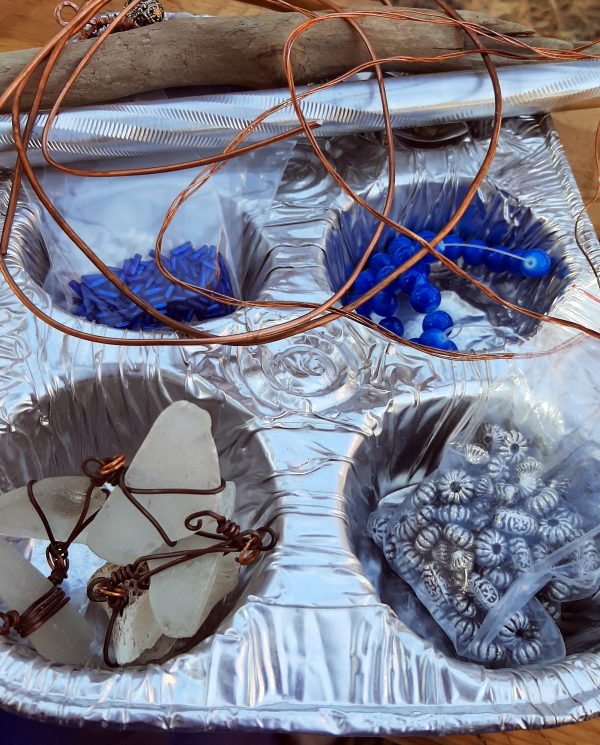
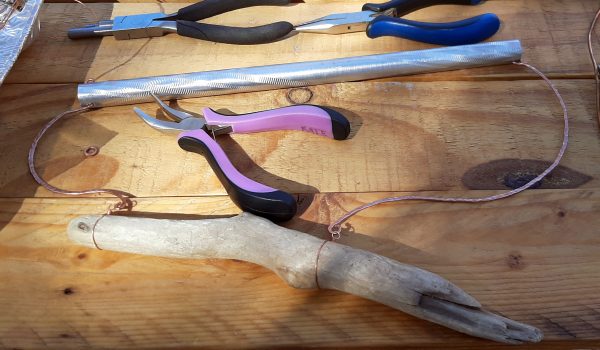
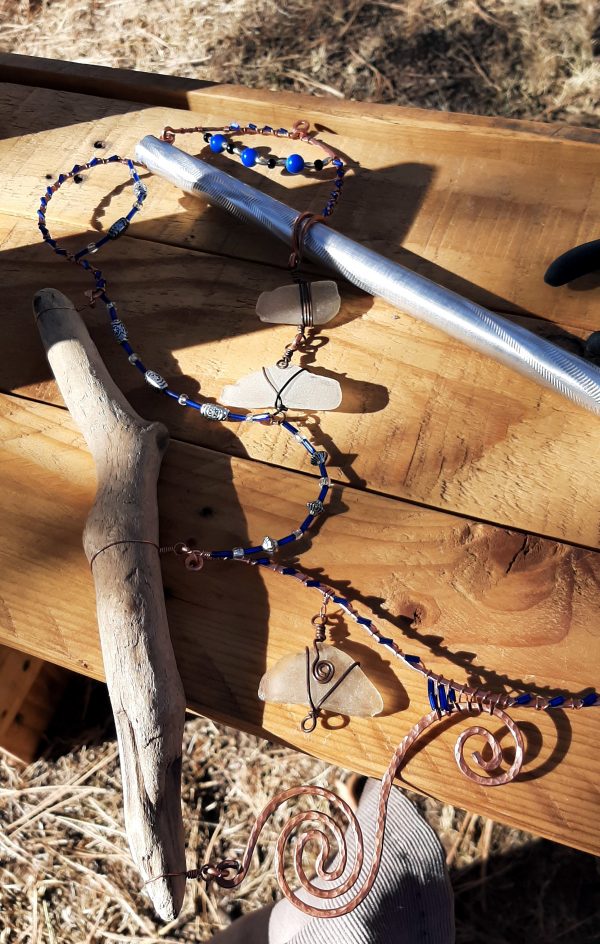
[ An aluminum cupcake tray. The hollows hold beads in a couple shades of blue & silver, and some white seaglass pieces wrapped in tarnished copper wire. Atop the tray are spools of copper wire, a piece of driftwood, & a tube from a wind chime. ]
What I started with!
Getting the wind chime tube ready to go was interesting, because I knew I couldn’t just wrap around it like I do with sticks. It had a hole drilled all the way through one end, so that was easy enough.
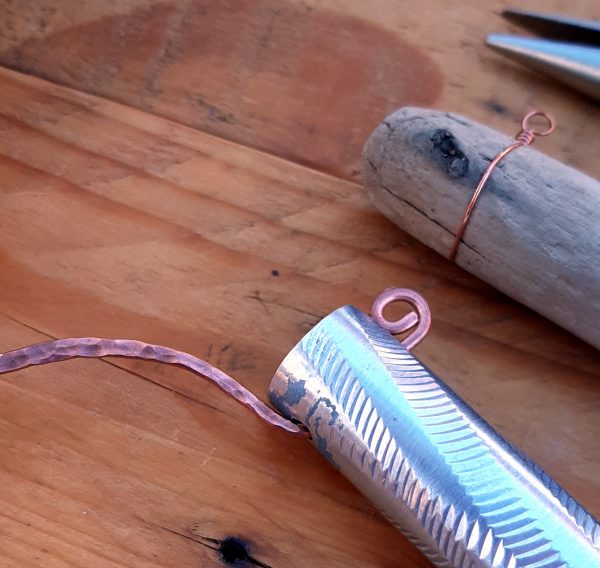
[ Thick copper wire pokes all the way through at one end of the tube; it’s bent into a small spiral at the end to hold it in place. ]
The other end only had the one hole, though.
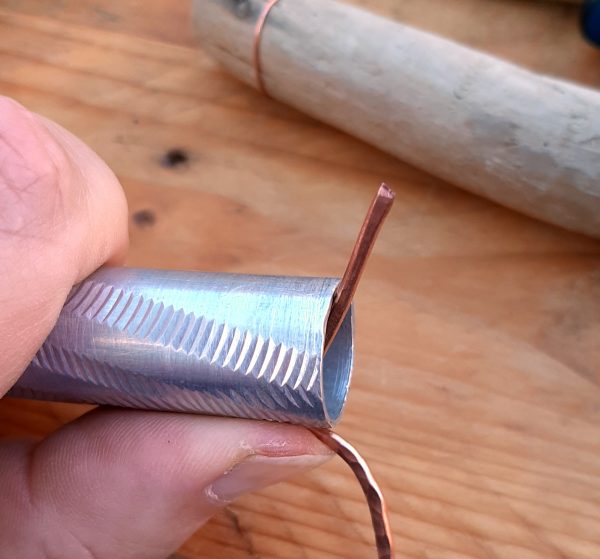
[ The thick wire is stuck through the hole drilled in the other end of the tube, but there’s not a matching hole on the other side, so instead it just sticks out the end of the tube. ]
But I figured it out!
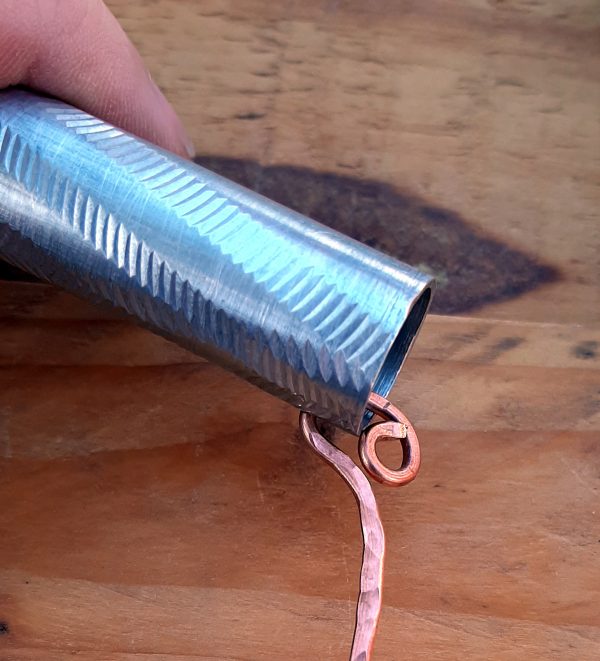
[ The end of the copper wire has been curled into a spiral where it sticks out the end of the tube, which holds it in place. ]
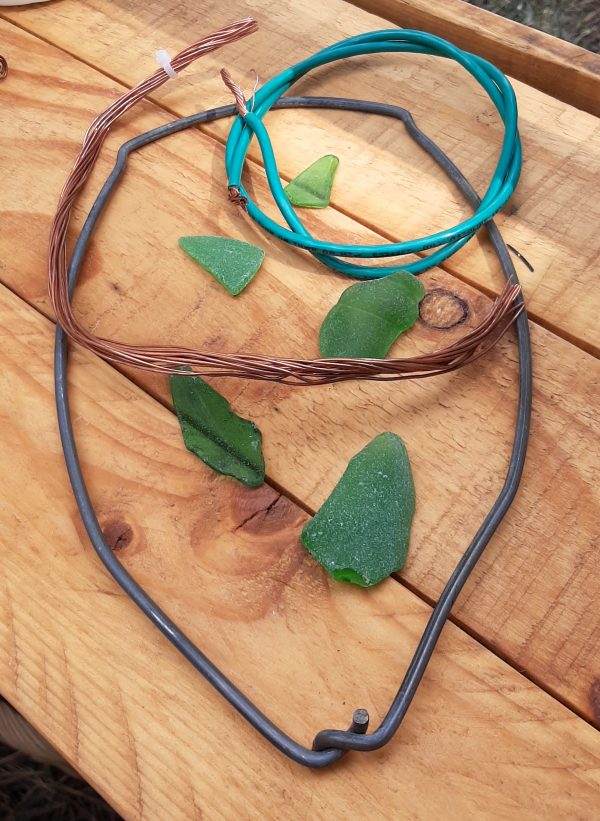
All framed out & ready to go.
[ Two pieces of thick copper wire connect the wind chime tube to the driftwood stick. ]
Double-spiral thinger. I found a good rock to put the anvil on.
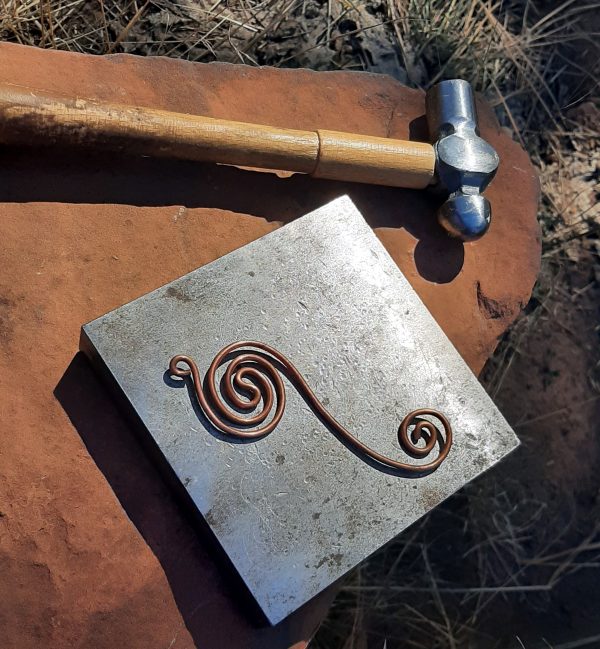
[ A single length of thick copper wire has been bent into a roughly s-shaped piece in which each end is a spiral. This sits on a flat steel anvil, which in turn sits on a rock, with a small hammer next to it. ]
Texture hammering!
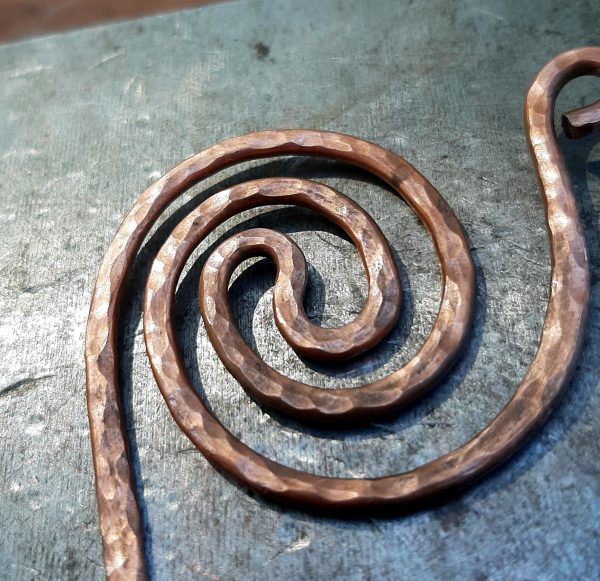
[ A close view of one of the spirals, showing the small dents where I’ve used the round end of the hammer to give the wire some texture. ]
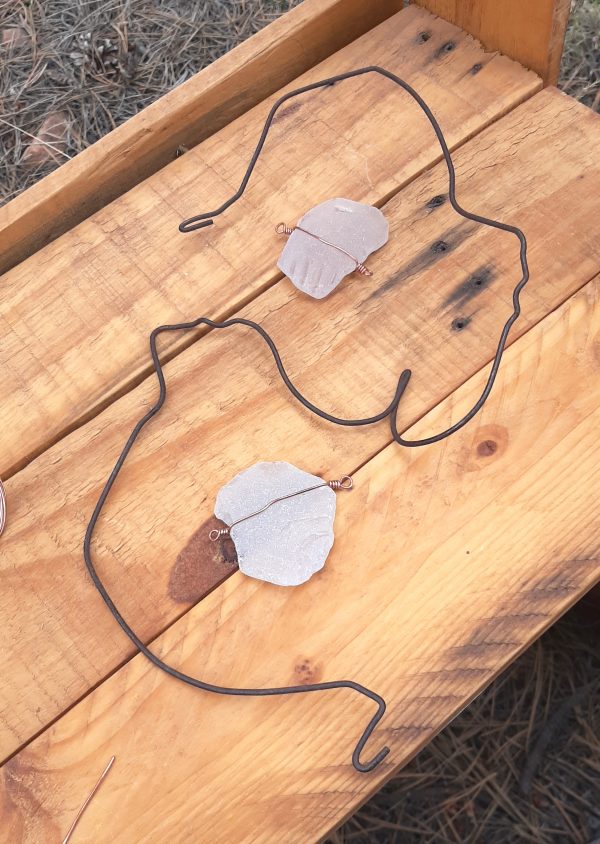
The white seaglass pieces are from a piece I did years ago that I wound up not liking & also was broken, so this is a better use.

[ A piece of white seaglass, wrapped in tarnished copper wire, hangs from a thicker piece of wire that’s been hammered flat. Thin copper wire wraps around that piece & holds small blue glass tube beads in place. ]
I like what I did with the blue glass tubes against the copper; the other strand, the one going across, not so much, the beads are the wrong colour to work with the rest.
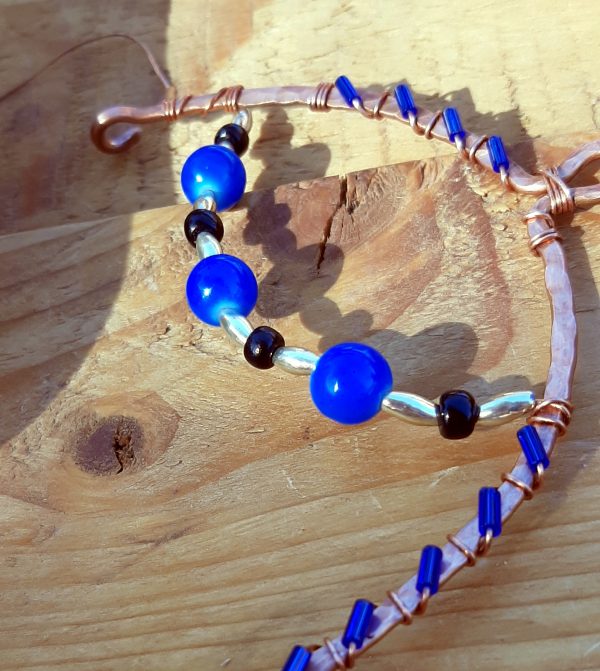
[ A curved piece of wire with blue glass beads fastened to it; more thin wire arches across the curve, with paler blue glass beads, along with silver & black ones. The two shades of blue don’t really go together. ]
This is as far as I got that day. Doesn’t help that the sun’s setting earlier but most of the reason I’m not getting them done in a day like I used to is I keep putting more details in em.
[ The piece sits on the wood shelf I work on when I’m out on Woods Day. There are several pieces of thick copper with the blue glass beads lined up along them, more white seaglass, & a couple places where the thin wire arcs from one thick piece to another, with blue glass & silver-coloured beads strung along them. ]
Another look at where I stopped!
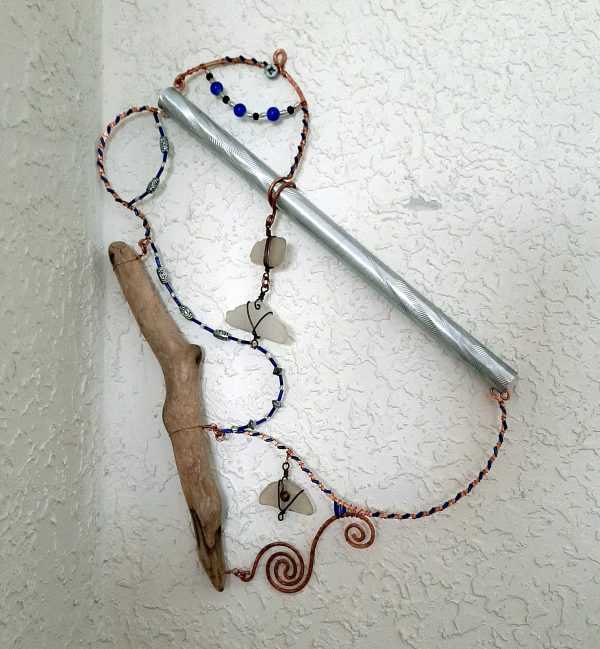
[ The same piece, hung on a white wall. It’s visibly unfinished, with a couple big spaces left open. ]
It’s easier to work at home now, with this setup! Not that I took any pictures while I was working there, mind you.

[ A black corner desk sits in a corner of a room. The shelves are all full of bead organizers & copper wire, as are a set of folding wood shelves sitting to the right of the desk. A neat little work area. ]
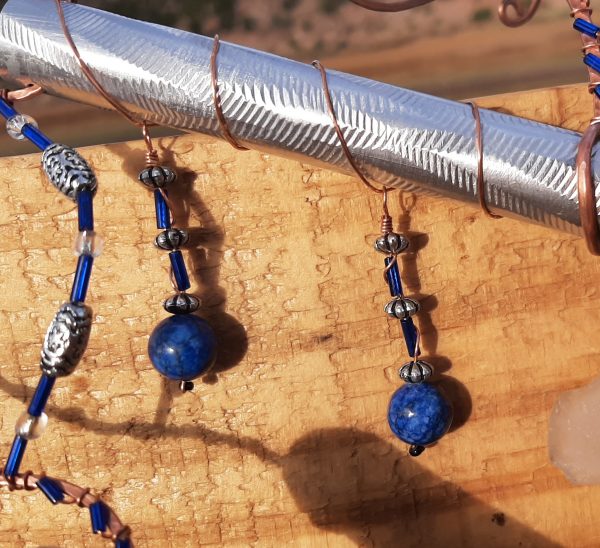
I got down to the lake last week & realized I’d forgotten all the wire I was using. Crap! Well, it gave me a chance to take pictures of some of the smaller stuff I’ve been making …
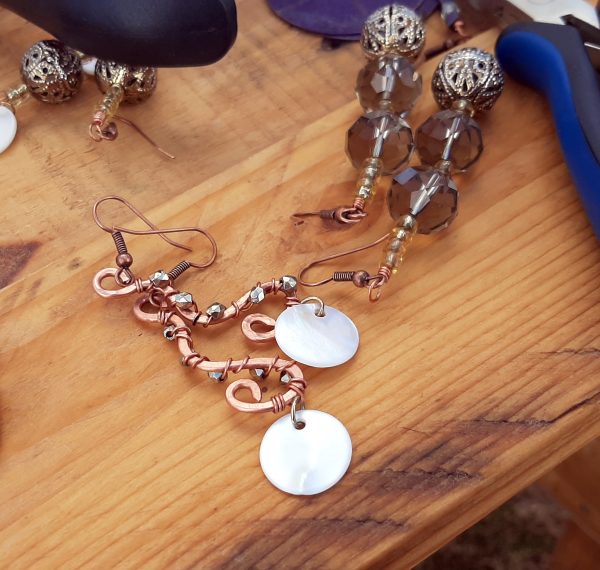
[ A couple pair of earrings sit on the wood shelf. One is thick copper wire with beads fastened along the length with thin copper wire & white discs hanging from the bottom; the other is smoked glass beads strung on thin wire along with pierced metal beads. ]
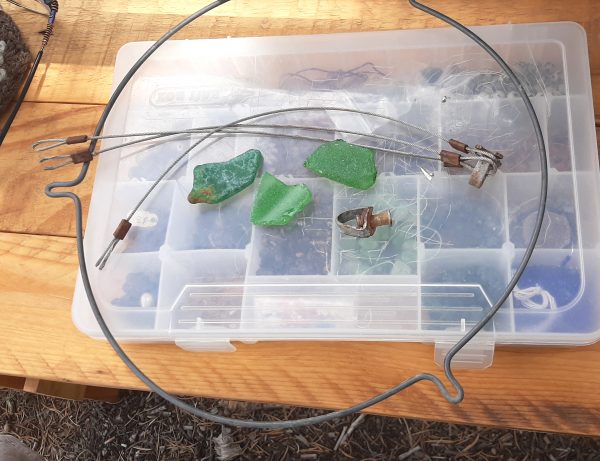
Eventually I dug through the toolbag & found some coated wire. This is why I keep a knife in there these days!
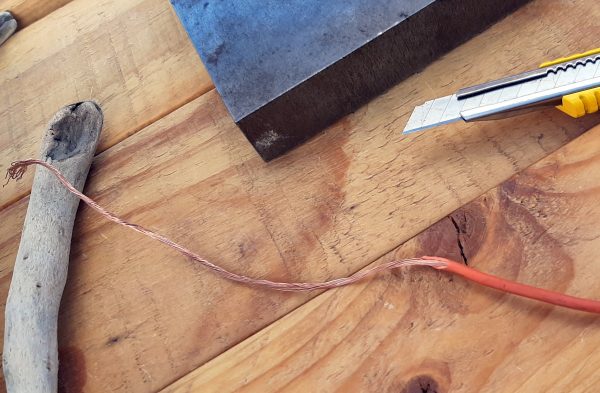
[ A length of bundled copper wire emerges from orange wire coating, next to the knife I used to cut the coating off. ]
Turned out to be too thin to be usable, but points for perseverance. Also after I gave up on that I found a spool of wire I’ve been carrying around for YEARS, which was, it turns out, exactly the right size, which let me start on these.
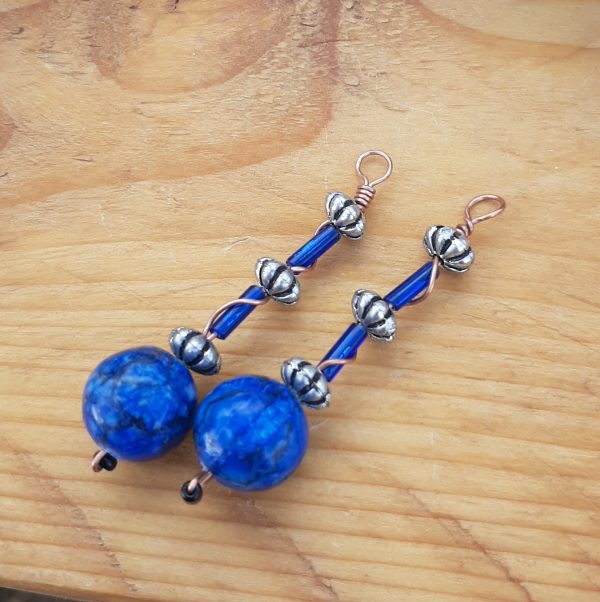
[ It looks like a pair of earrings, with round lapis beads at the bottom & thinner blue glass & silver-coloured beads strung above them, but they’re destined to be part of this piece instead. ]
I used a blue glass pendant I’d made & never wore, because it needed more blue.
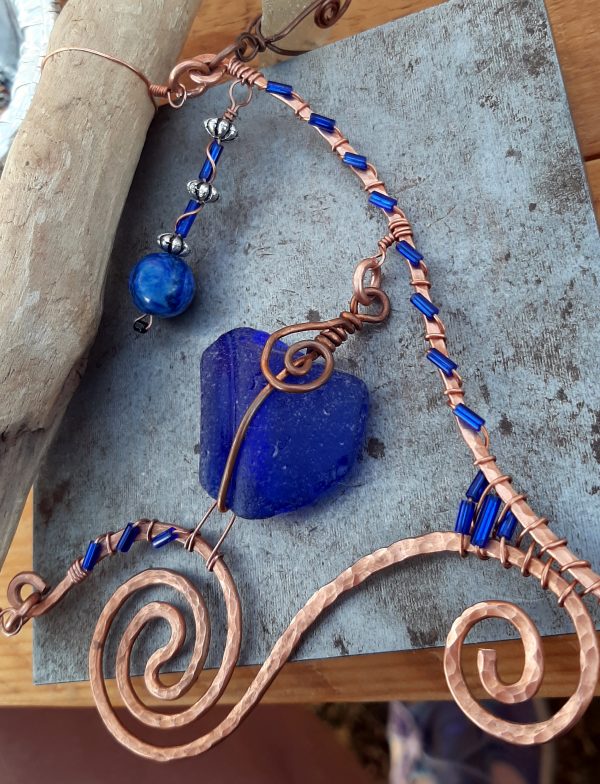
[ A piece of rare cobalt blue seaglass wrapped in copper wire hangs from a point on the piece, next to one of the things that looked like an earring. ]
& I hung some of the dangle things in a way that wound up not working & that I fixed later!
[ A piece of thin copper wire wraps around the wind chime tube, holding two of the earring-looking things in place, but it doesn’t look very secure. ]
After which I headed home & as is traditional, failed to take more pictures until I was done.

[ The wind chime tube hangs at a sharp angle, down towards the right. A bunch of the pieces that look like earrings are hung along it, looking like fringe; they’re not attached to the tube itself, but to lengths of copper wire that run just below it. The three white seaglass pieces are fastened to the tube at the top, & hang at a slight angle to the left, where they fasten to the piece of driftwood. It’s a very complex piece. }
Y’all, I learned SO much making this thing, from a bunch of stuff that might have worked but didn’t, to ways to fix problems I’d caused by doing a thing one way when it really needed to have been done another way, to how to fill in big spaces & also how not to, & I’m really proud of how this piece turned out.
Also? It’s fragile. Not that it’s likely to fall apart, but there’s enough things dangling in enough directions that if I shipped it, it’s likely they’d get tangled enough to be a real problem for whoever bought it to make it display-worthy again. That’s a thing I need to work on for the future, & I already have some ideas about how to make things work better.
So … I’m keeping this one. It’s a good visual reminder of what I learned in the process, & what I need to fix in the next pieces I make.
Anyway, it’s all my favourite blue, so there.