Y’all, I got SO MUCH done yesterday.
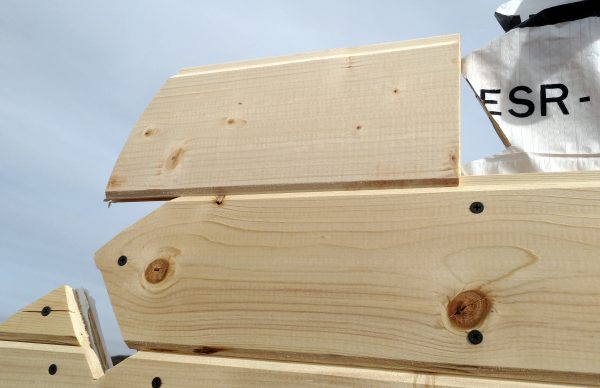
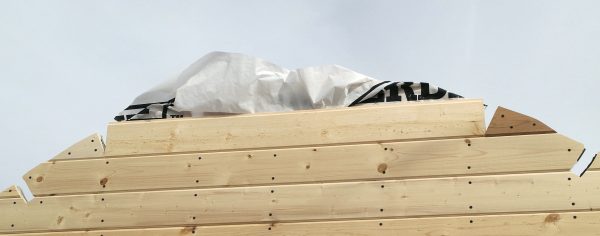
The day before I left off because the next bit was gonna be tricky, & indeed it was. See above — I could’ve used one board all the way across, but as deeply as I’d’ve had to cut it, I decided to do that level in three pieces instead.
I also had plenty of shorter pieces kicking around that wouldn’t fit much of anywhere else, but were plenty big enough for that spot. Step the first was taking one of those pieces & putting it in place.
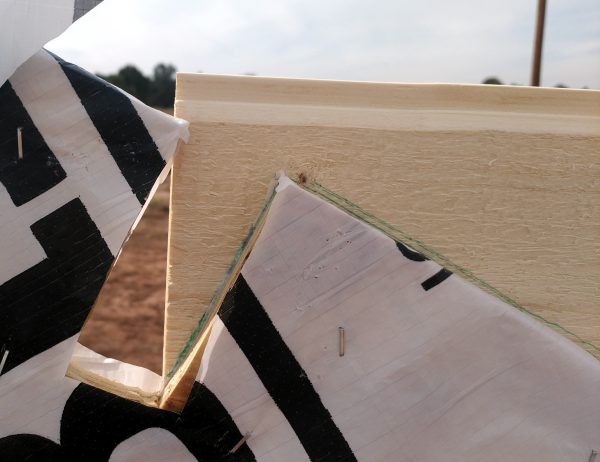
Next, go around to the inside (I’ve started just stepping through the big open window) & trace the pieces I’ll need to cut.
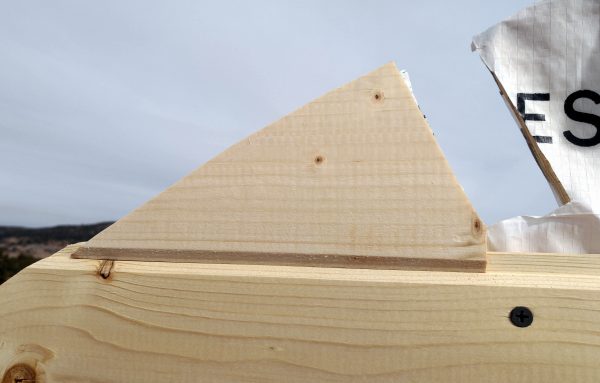
Trimmed (yay jigsaw!) & in place.
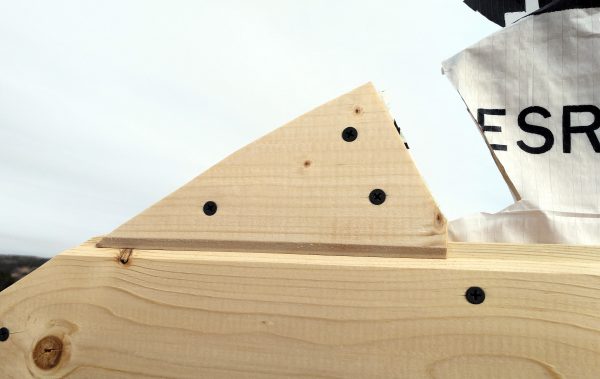
Drill pilot holes & screw it down. Poof!
I did the same thing on the other side, with one of the last pieces of the salvaged wood, & then it was time for the big middle board. I cut one of the new boards to length & then, well, you know the drill.
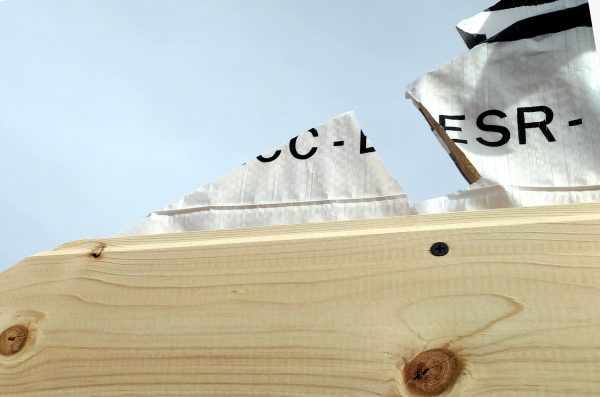
I still had to get the very last of the housewrap trimmed & stapled down. The plywood is wibbly enough on its own that it was easiest to do that in stages, as each t&g board stabilized it a little further up.
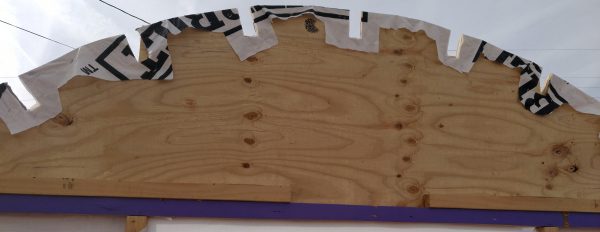
I’m putting housewrap on the roof arch for the other end before I put it in place, thus proving that I am, in fact, capable of learning from my own mistakes.
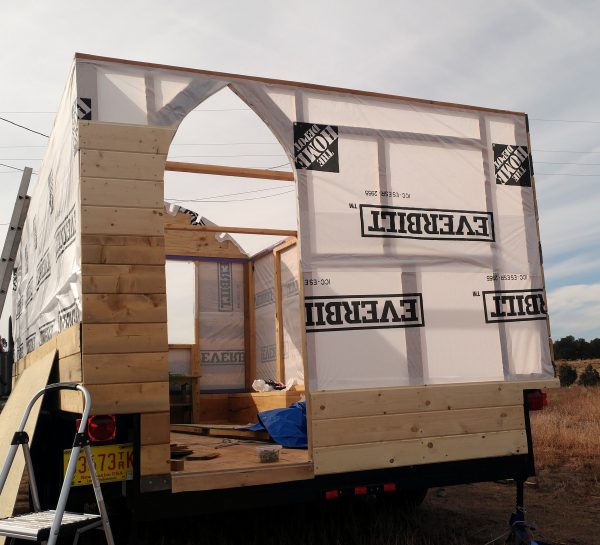
… but I got this one done all the way up, & then I just had to add about half a board to the top, & poof! An entire wall, done all the way up to where the roof is gonna go!

Y’all, does that not look GOOD?
I only had three full-length t&g boards left of the eight I’d bought, plus some scrap pieces, so I used the rest of them on the front wall. Here’s where I left off day before yesterday:
& by the end of the day, when I ran out of boards, this is what I’d gotten done:
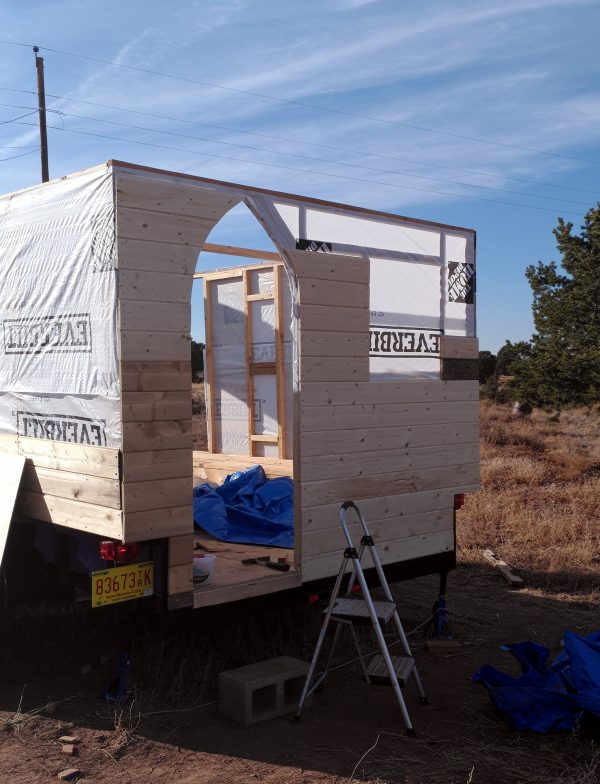
SO CLOSE
I’ve got to buy more t&g boards, plus I’ve got the roof tarp ordered & that should be in at Home Despot soon. I’m hoping to have the roof on in another week or so, & then it’ll be time to pull the whole thing around to the front of the house.