I kept not getting round to taking pictures while I was framing out the walls, partly because I was busy framing out the walls & partly because, well, framing is framing, it isn’t HARD, there are a zillion places online where you can read about how to do it …
But then I thought, y’all aren’t here to see just anyone do the things, you’re here to see ME do the things.
Also, cat pictures.
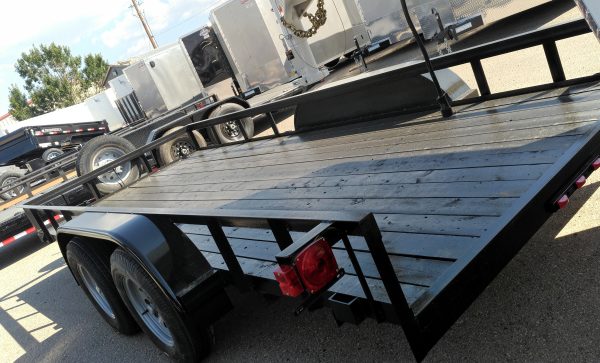
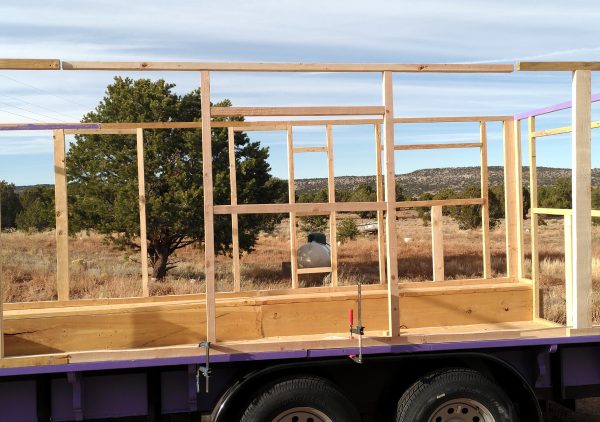
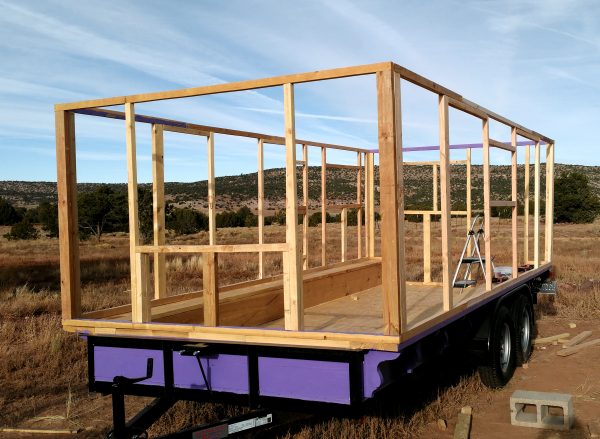
Anyway the top pic is where I was before I finally started taking pics. Three walls done, one left.
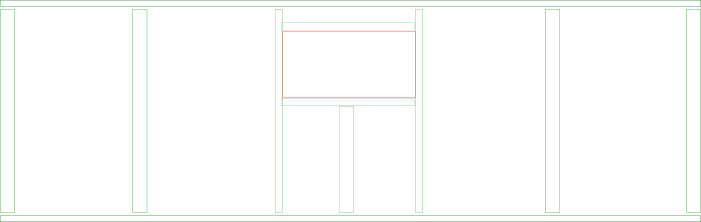
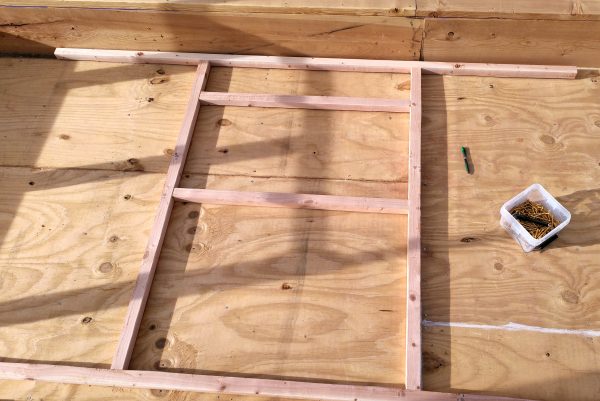
The first vital part is knowing what I’m doing before I start, by which I mean designing the wall. I’ve been using Inkscape for this part; I more-or-less know what I’m doing in my head, but drawing it out in Inkscape makes it easier to follow. This wall isn’t very complicated, with no doors & just one window.
It’s a combination of 2x4s & 2x2s. It’s damned difficult to find decent 2x2s these days, alas, so I’ve been digging the best 2x4s out of the pile & ripping them down to 2x2s. It’s easiest with a table saw, but a good circular saw with a good blade makes it doable.
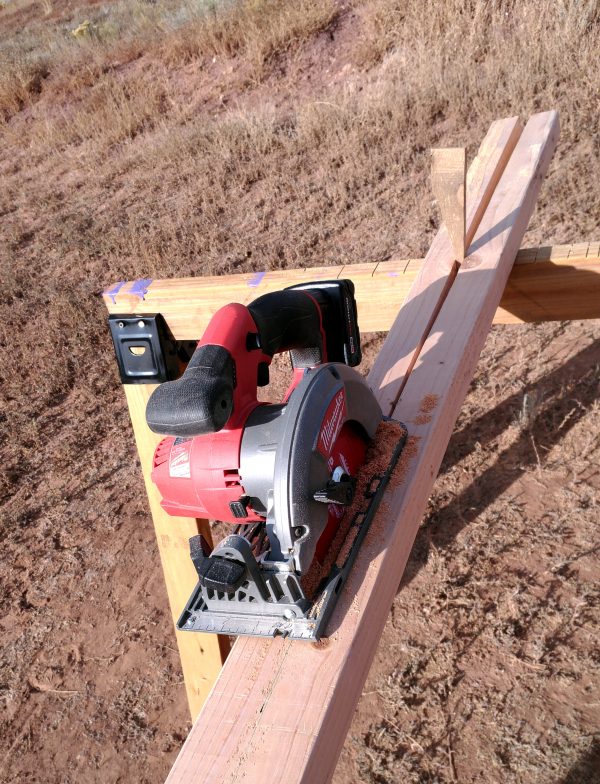
The wedge holds the two halves apart & makes it much easier to cut. I’m not using the cutting guide because it doesn’t have to be dead straight, just more-or-less in half. Cut & cut & cut & poof, 2x2s!
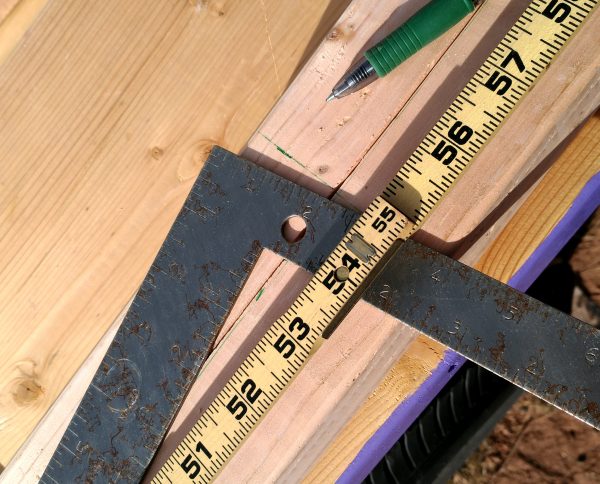
Which then need to be cut down to the right length. The uprights need to be 55 inches long.
Put that together with a couple of 36″ long pieces to form the window frame … here it is, measured & laid out.
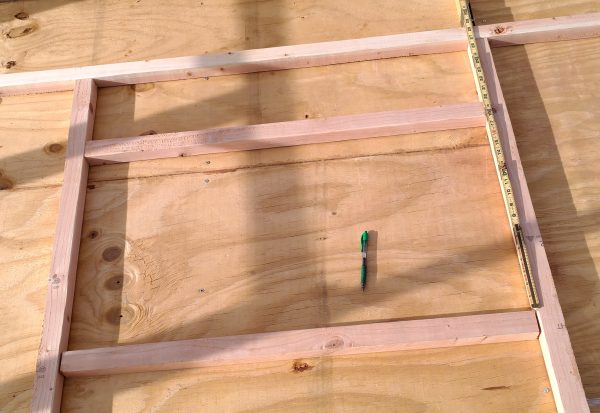
With extra measuring to make sure everything is at right angles, which isn’t something one can just assume, as witness a couple other parts of the build. Let’s just say it’s a good thing I’m building my own windows, because the sizes are … nonstandard.

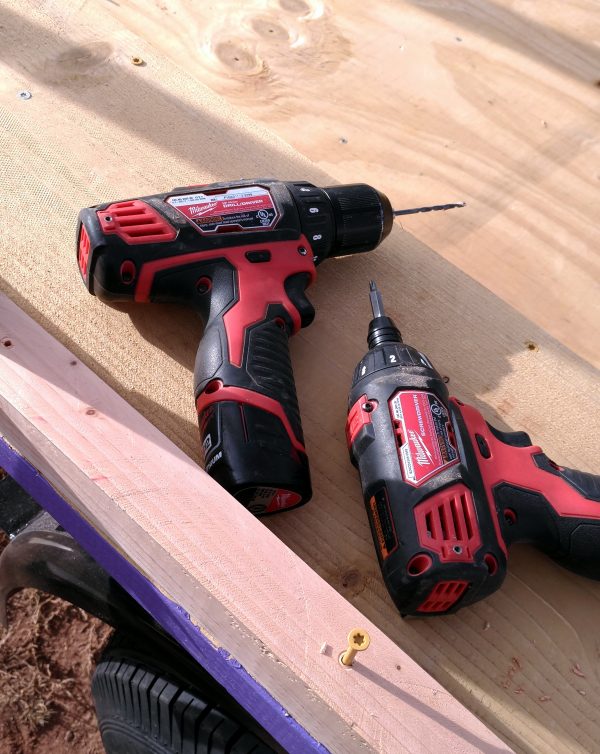
Drill a couple pilot holes, put in a couple screws, & poof, it’s a chunk of framed wall.
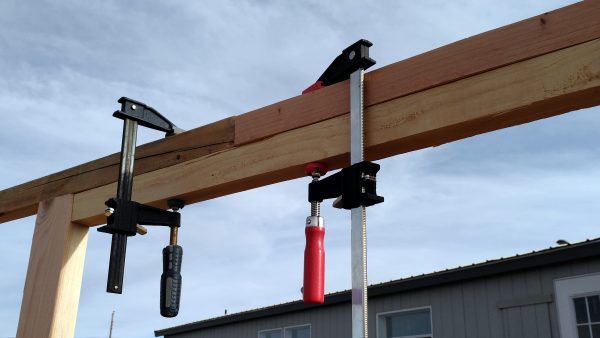
I kinda wish I’d had someone else around to video me trying to hold this in place, in the wind, while getting the clamps on, with only two hands instead of, like, six, except that I’m really glad I didn’t, because I’m pretty sure I looked like a dork & I KNOW I hit myself on the head with it at LEAST twice.
Pilot holes & screws …
Once I had the bottom bit fastened down I had to get the top of the wall attached to the rest of the top of the wall, which was another exercise in clamps, although a much less dangerous one. I only hit my head once, & it was a much smaller piece of 2×2.
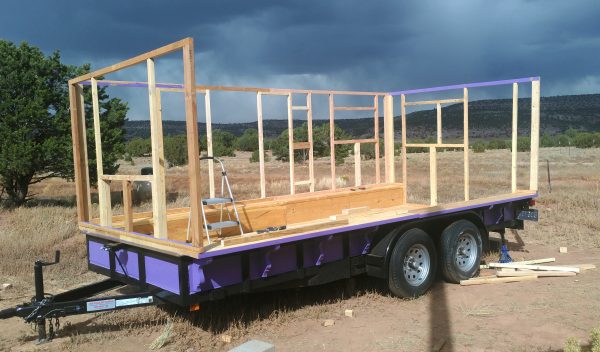
Et voila, an entirely framed out tinker’s wagon!
Next up, housewrap & turning the wall skeletons into actually walls!